연락처
텍트로닉스 담당자와 실시간 상담 6:00am-4:30pm PST에 이용 가능
전화 문의
9:00am-6:00PM KST에 이용 가능
다운로드
매뉴얼, 데이터 시트, 소프트웨어 등을 다운로드할 수 있습니다.
피드백
전류계 또는 멀티미터로 전류 측정하는 방법
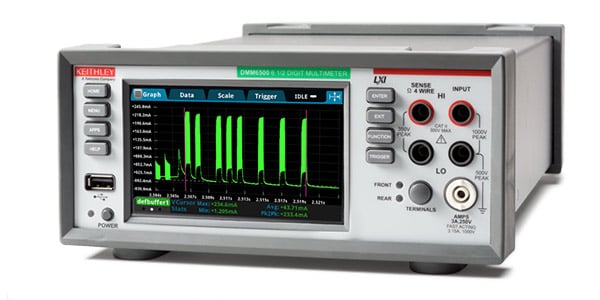
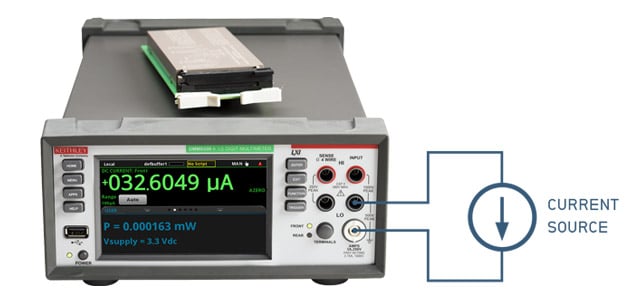
Measuring current is one of the most common measurements electronic engineers make to verify that a circuit or device is working as intended. There are a number of methods you can use to measure current, but the simplest way to measure direct current (DC) is by using a digital multimeter A gap is made in the circuit and is connected to a digital multimeter (DMM) so that it becomes part of the circuit itself. The current passes through the DMM, which displays the measurement on the display screen.
If you’re already familiar with current, skip ahead to how to measure current with a digital multimeter. Or keep reading to learn what current is and why it’s measured.
What is current?
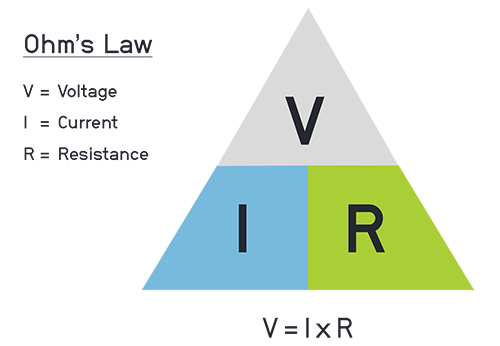
Current is the rate at which electrons flow in an electrical circuit, and it’s measured in amperes (A) or “amps”. It is one of the three factors of Ohm’s Law, which is a simple equation commonly used by electrical engineers during diagnostic testing. The equation is expressed as V = I x R, wherein V represents voltage, I represents current, and R represents resistance.
How to measure current with a digital multimeter
Though the process of using a digital multimeter to measure current is fairly simple, it’s slightly more difficult than using a digital multimeter to measure voltage or resistance. That’s because to measure current, you need to break the circuit and connect your digital multimeter (DMM) to the circuit so the DMM becomes part of the circuit itself. The current passes through the DMM, which displays the measurement on the display screen.
Steps for measuring current with a digital multimeter
Before getting started, it’s important to read your digital multimeter’s manual to ensure you understand how to safely use your specific model. Below are the basic steps for using a digital multimeter to measure current.
- Plug the appropriate test leads into your digital multimeter. These test leads are typically red and depending on your digital multimeter, there may be specific current inputs on the front panel.
- On the digital multimeter’s menu, clear your default buffer under settings to make sure there are no previous readings in the buffer.
- Then set your digital multimeter to current mode and select the appropriate range for your application. This is a very important step. If the range isn’t set high enough, you risk blowing the fuse in your digital multimeter when you connect it to the circuit. This will not only destroy your instrument, but you could injure yourself or others around you.
- Before breaking your circuit to connect it to your digital multimeter, ensure that it works on its own.
- Break the circuit at any point and connect the two probes to the two open points on the circuit.
- Press the trigger key and hold the probes to your circuit for two seconds. Then disconnect your probes and reconnect your circuit.
- Your digital multimeter should show the circuit’s current on the digital display. Depending on your instrument, you may also be able to go into the menu and change the way the data is presented to see a tabular view.

Video demonstrations for DMM measurement applications
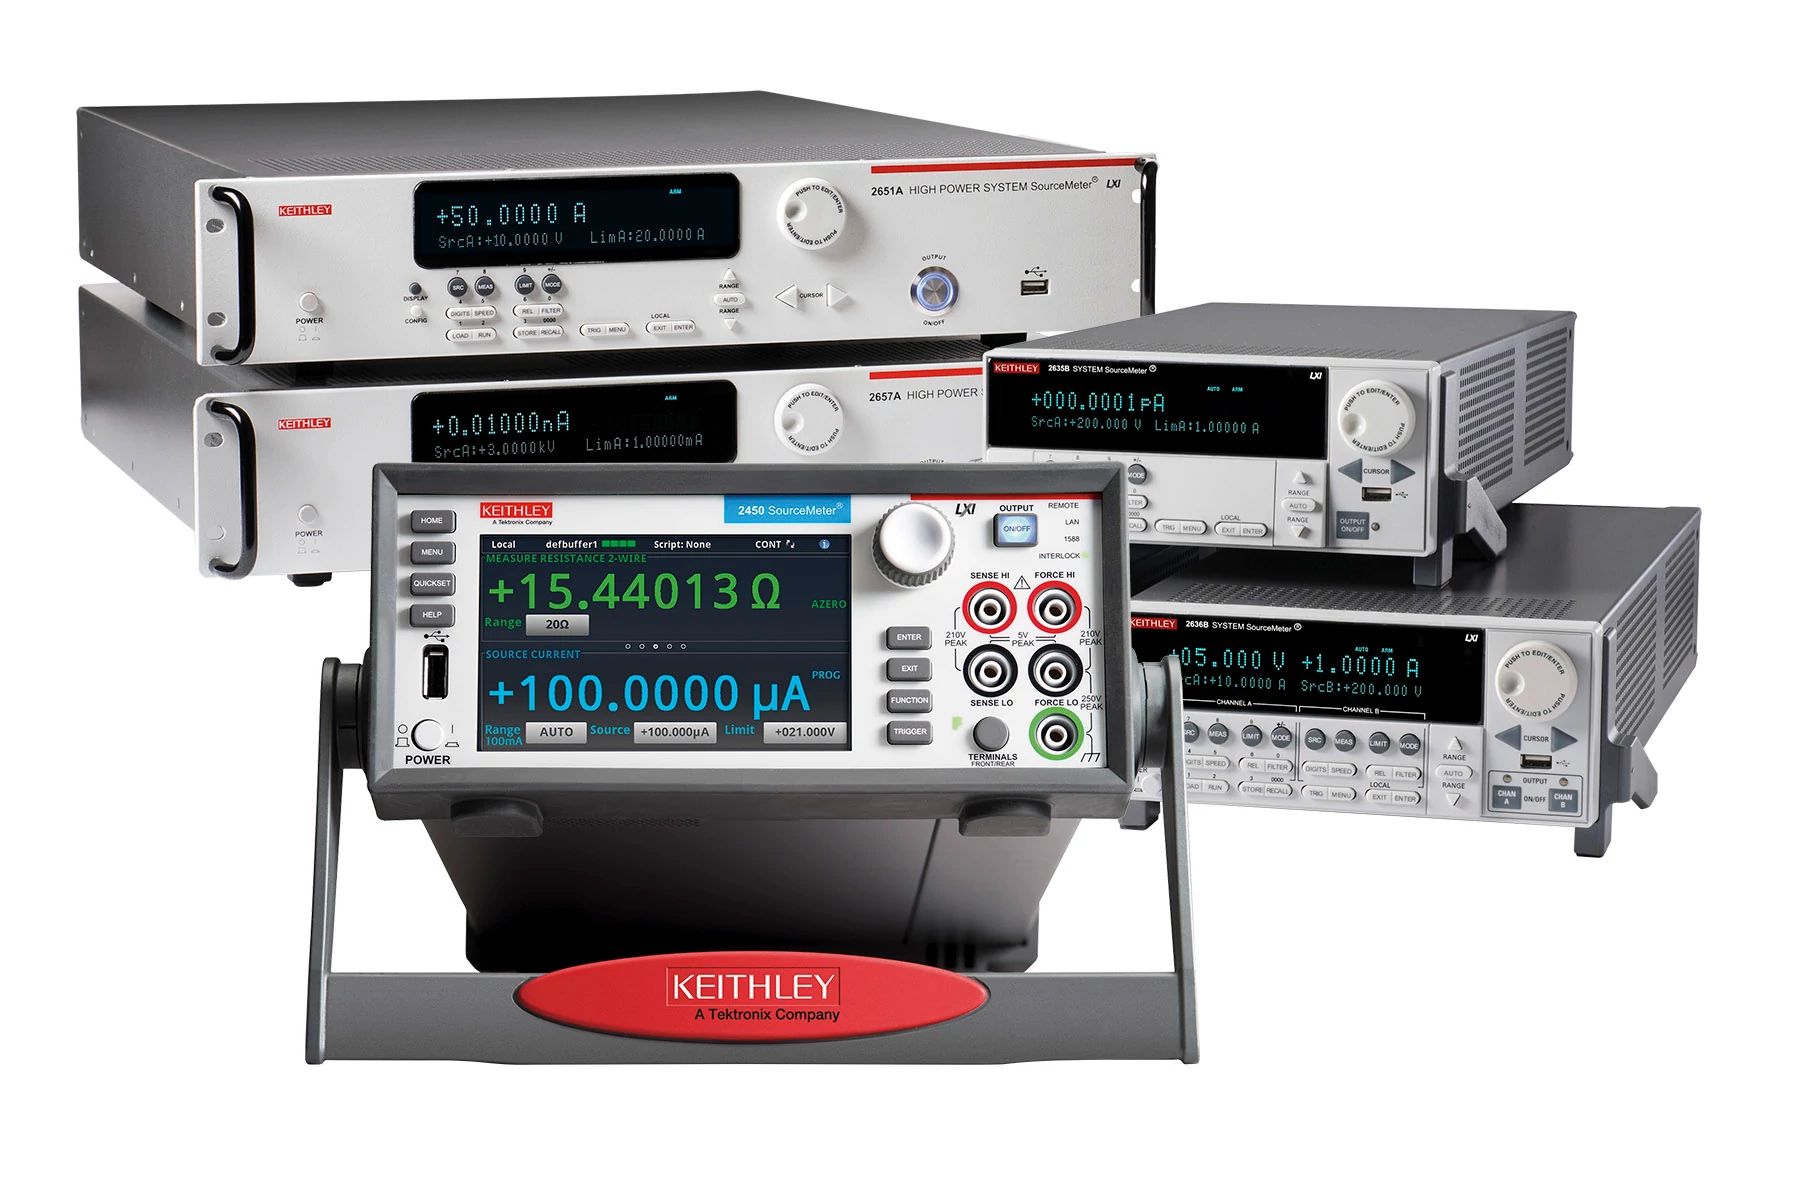
Additional instruments for measuring current
While a common DMM is typically the best option for measuring direct current down to the µA range, more sensitive applications like measuring nano or picoamps will require the use of a picoammeter or low-level specialty instruments.
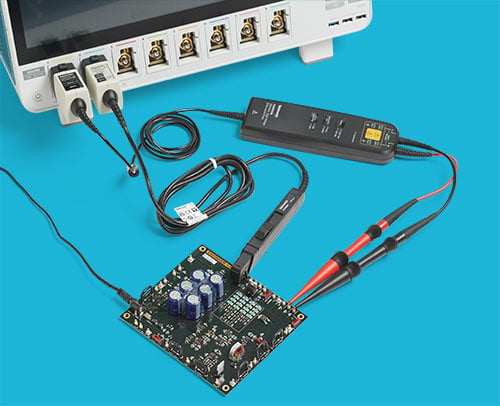
Typically, you’ll need to use an oscilloscope to measure current not only in DC but when tracking it as it changes over time, which is also known as alternating current (AC).
Tektronix and Keithley digital multimeters are easy to use and offer wide range of measurement functions, including extremely precise current measurements. Learn more about how digital multimeters work and or explore the Tektronix Digital Multimeter Learning Center to read about additional applications.