
Raspberry Pis are an extremely useful tool for hobbyists and technical professionals alike, but did you know that you can use one to transmit an RF signal? Using the RSA306B real-time spectrum analyzer, we can characterize the capabilities of this ultra low-cost RF generator made with nothing more than a Raspberry Pi, RPiTX software, and some spare wire.
How do I install RPiTX?
The RPiTX software is ran on the Raspberry Pi (Raspbian) Operating System designed for all Raspberry Pis. This operating system can be configured for your device’s SD Card using Raspberry Pi’s provided Imager. Once the operating system is on your device, you need to have the latest git package installed on your device. This can be done via the commands in the terminal. From there you can clone the repository for RPiTX and install it on your device. Once installed, you can now launch the software from your terminal to start transmitting your own signals.
Contained on the RPiTX GitHub Page is the full breakdown for the installation of the software. This page also provides a detailed catalog of the features available with the software.
With the RPiTX running on your Raspberry Pi and signal frequency selected you can now begin transmitting your own RF signals. By utilizing the RSA306B USB Spectrum Analyzer connected to SignalVu-PC you can measure the signals you are generating in real time.
This hardware/software pair provides many ways to characterize RF signals up to 6.2 GHz, well beyond the output capabilities of the Raspberry Pi. Let's look at a few common RF measurements to get an idea of what characterization is possible, and examine the output of the Raspberry Pi.
Carrier Frequency
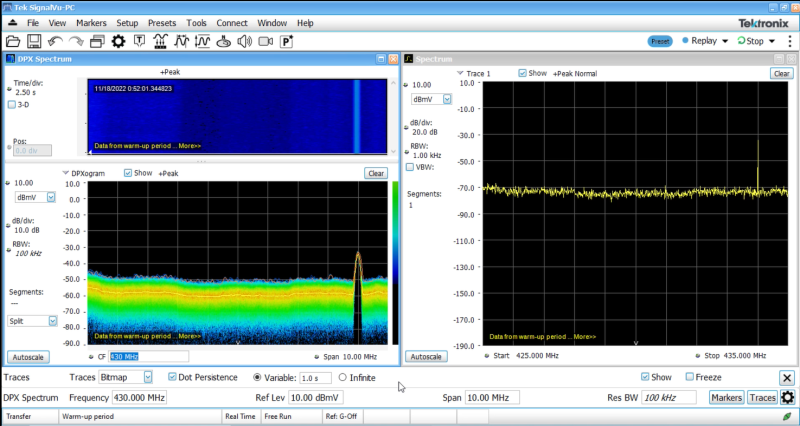
A carrier frequency is the base frequency that will be modulated in an RF signal. Without any modulation, it is a simple RF peak at a chosen frequency. This is the default output of RPiTX software. Using the RSA306B with SignalVu-PC software we can capture this band of frequency and measure its amplitude.

Chirp
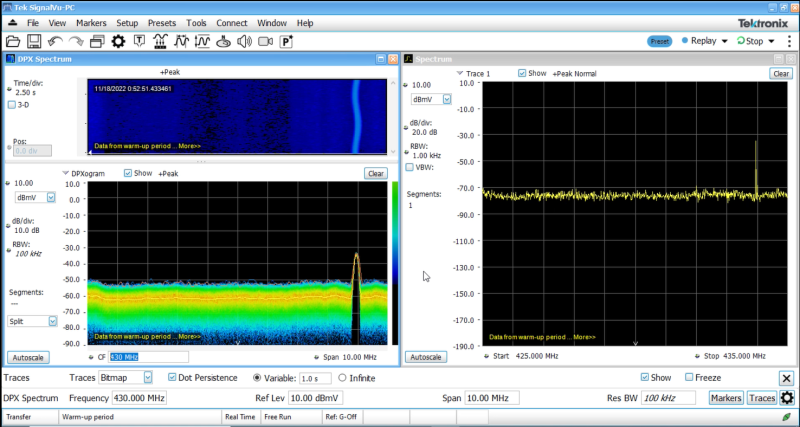
An RF chirp is a simple frequency modulation over time. SpectrumVu-PC allows us to see chirps generated with RPiTX in a few different ways. Notably, the DPX Spectrum view shows us a waterfall of RF intensity over time in which this chirp, or any frequency modulation becomes apparent and easy to visualize. For faster modulations, we would also benefit from the RSA306B's real-time acquisition, preventing us from missing any time in the signal.

Spur Search with the RSA306B
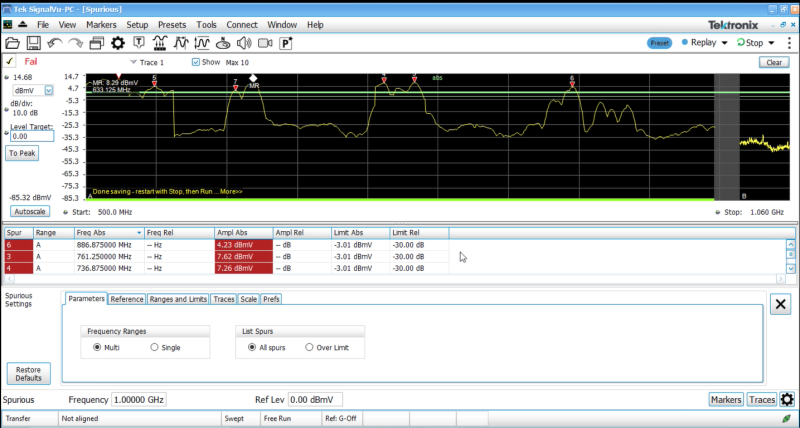
Thanks to the impressive 40MHz bandwidth of the RSA306B, large samples of the spectrum are taken in real-time. By knowing the amplitude of our spurious signals, we can hunt for them across a wide spectrum. Spurious signals are more common in low cost RF transmitters, and the Raspberry Pi is no exception. Real-time spectrum analyzers like the RSA306B are especially fast at spur searches thanks to that real-time bandwidth. In the SignalVu-PC software we can specify multiple amplitudes to hunt for and have the largest samples at frequencies be saved to ease our search. A fun experiment to run is randomly select a frequency within RPiTX and watch as it breaks the threshold of a spur search and watch as it is detected.


